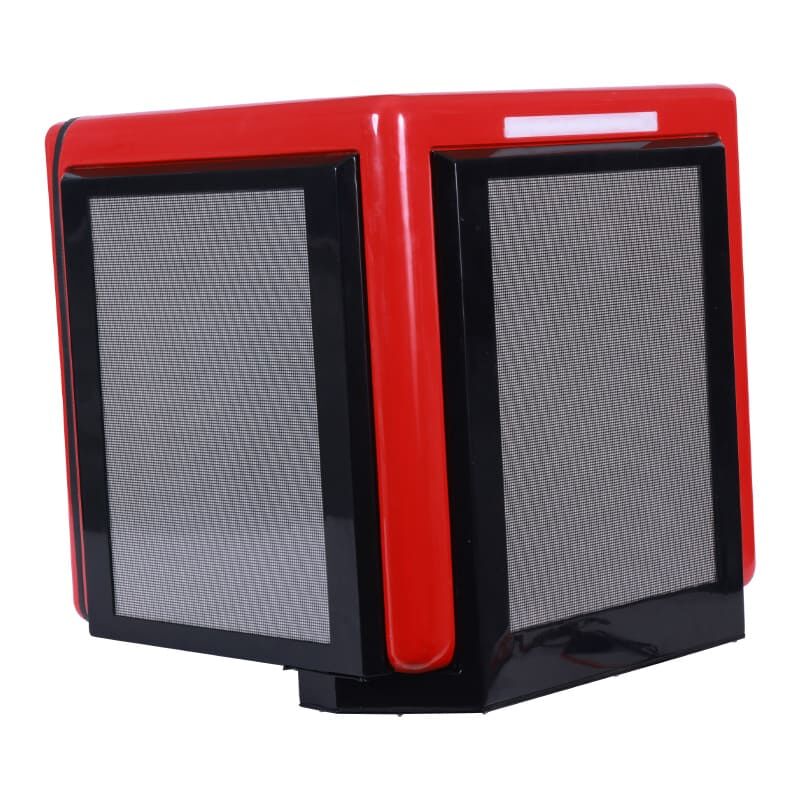
ADBox Moving LED Display Installation Guide: Pre-Installation Planning
Assessing structural load capacity and power infrastructure readiness
Before installing your ADBox Moving LED Display, verify both structural integrity and electrical readiness. Motorized displays impose dynamic loads during motion—calculate total system weight (panels, rails, mounting hardware) and confirm supporting walls or frames can sustain at least 150% of that load to accommodate acceleration forces.
Simultaneously, audit your power infrastructure:
- Provide dedicated 20-amp circuits located within 10 feet of installation points
- Ensure voltage remains stable (±5% tolerance) under peak load
- Install surge protectors rated for minimum 6kA protection
Electrical deficiencies cause 68% of motion-system failures (Digital Signage Federation, 2023). Addressing these early prevents hazardous overloads and ensures reliable, long-term operation.
Evaluating environmental conditions for reliable motion and display performance
The environment has a real impact on how accurately machines work and what kind of light they produce. For best results, keep things cool enough but not too hot, ideally somewhere between around 40 degrees Fahrenheit to just under 100 degrees Fahrenheit (that's roughly 5 to 35 degrees Celsius). When metals get too warm or too cold, they expand or shrink which can throw off rail alignments completely. Humidity is another concern. If it gets above 80% relative humidity, moisture starts eating away at those moving parts inside drives. And don't forget about dust either. Airborne particles settle on surfaces over time, and studies show this kind of buildup actually wears down rails about 40% faster each year than normal wear would cause.
Outdoor installations require wind-load analysis (misalignment risk rises above 50mph) and UV-protective coatings. Proactive evaluation minimizes maintenance and helps sustain brightness above 5,000 nits. Thermal imaging during preliminary testing identifies hotspots needing targeted ventilation adjustments.
ADBox Moving LED Display Installation Guide: Step-by-Step Physical and Electrical Setup
Mounting the motorized rail system: alignment, bracket calibration, and track synchronization
Getting the motorized rail system installed right is essential for making sure everything moves smoothly and stays stable. When setting up those rails, it's best practice to use laser levels so any deviations stay below half a degree all along the length. The mounting brackets need proper calibration too so weight gets distributed evenly. Remember to tighten those bolts with a torque wrench according to what the manufacturer says, usually somewhere around 25 to 30 Newton meters. Programming the motor controllers identically helps keep things synchronized, which stops that annoying wobbling effect when moving. Run an empty test through the entire range after setup, checking that alignment doesn't drift beyond 2mm anywhere. Don't forget about thermal expansion either. Leave gaps of 3 to 5mm between rail sections wherever temperatures might swing more than ten degrees Celsius. This small detail can prevent serious problems down the road.
Integrating power, video (HDMI/SDI), and control (DMX) signals
The power setup needs dedicated 20 amp circuits with inline surge protectors installed along the way. Make sure voltage drop stays under 3% throughout all cable runs for optimal performance. When running shielded HDMI or SDI cables, always keep them in their own conduit separate from any power lines to prevent electromagnetic interference issues down the line. Handling DMX control requires proper chaining of XLR cables together, with the last connection needing termination using a standard 120 ohm resistor. This basic setup order works best for most installations, though specifics might vary depending on equipment requirements.
- Connect power using lockable, IP-rated connectors
- Run video cables with strain-relief boots at all entry points
- Assign DMX addresses sequentially from the controller outward
Test signal integrity by displaying diagnostic patterns at maximum brightness while executing full-motion commands. Incorporate 30% slack in service loops to accommodate motion without tension. After installation, verify all connections remain stable across 50+ movement cycles with no signal degradation.
Maintaining Your ADBox Moving LED Display: Preventive Care and Performance Diagnostics
Cleaning moving mechanisms and optical surfaces to prevent wear and image degradation
When dust accumulates on those rails and gears, it can boost friction by around 40 percent according to Industrial Motion Systems research from last year. That kind of friction really speeds up how fast parts wear out over time. For keeping things running smoothly, grab an antistatic brush once a month to clean those optical surfaces. Metal tracks should get wiped down with good old isopropyl alcohol though nobody wants to see their LED panels scratched up from using anything abrasive. Stick with regular monthly maintenance and about 80% of problems related to movement never happen at all. Every three months or so, give everything a thorough going over to maintain that nice even brightness across displays. And remember folks, turn off the whole system first before getting started with any cleaning work because nobody needs surprises when electricity is involved.
Firmware updates, motor encoder recalibration, and drive belt tension checks
Keeping things running smoothly requires regular attention to both software and hardware components. Firmware should be updated about four times a year not just for security fixes but also because these updates often contain improvements to how the machine moves around. Motor encoders need recalibration after roughly 500 hours of operation. Most shops will use factory diagnostic tools for this job so that positioning stays accurate down to half a millimeter or better. Don't forget those drive belts either. They should be checked every other month with a proper tension gauge. If a belt stretches more than five percent, it starts slipping and gets out of sync with everything else. And remember to keep track of all this maintenance work digitally somewhere. Paper records get lost too easily. Digital logs help spot problems before they become big headaches, make warranty claims easier when needed, and generally speaking, systems maintained properly tend to last well past seven years without major issues popping up.
FAQ
What is the ideal temperature range for operating an ADBox Moving LED Display?
The optimal temperature range for running an ADBox Moving LED Display is between 40 degrees Fahrenheit and just under 100 degrees Fahrenheit (approximately 5 to 35 degrees Celsius).
How often should firmware updates for the ADBox Moving LED Display be performed?
Firmware updates should be done approximately four times a year to ensure the system remains secure and functions optimally.
What are the preventive maintenance recommendations for the ADBox LED Display?
Preventive maintenance includes regular cleaning of moving parts, firmware updates, recalibration of motor encoders, and checking drive belt tension. Keeping digital logs of maintenance activities is also advised.